Radiusing Braces
|
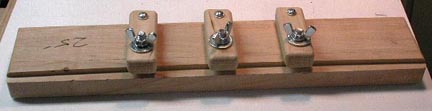
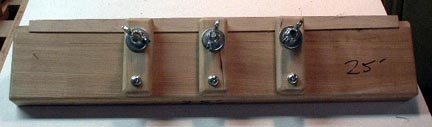
Here's how I radius back and top braces. I got the idea for this jig from the Guild of American Luthiers' "Big Red Book". I made a jig like this for each radius I use. It's just a block of wood with three wing-nut clamps and a radiused groove to hold the brace: |
|
|
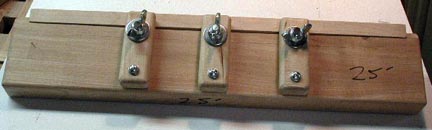
The straight brace blank fits in the groove under the clamps: |
|
|
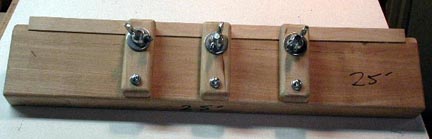
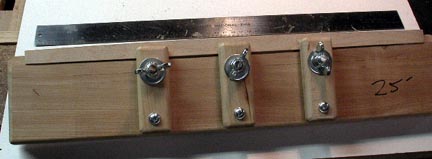
I press the brace blank into the radiused back edge of the groove and clamp it in place. Now the exposed edge of the brace is bent into the desired radius: |
|
|
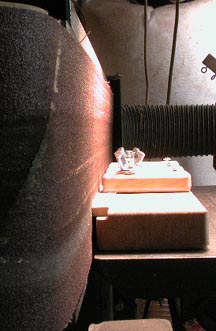
I put the jig on my verticle belt sander... |

|
|
... and push it against the running belt until I sand away both ends and the belt just touches the middle. |
|
|
Now the exposed edge is flat in the jig... |
|
|
... but when I release the clamps, the brace springs back to straight, leaving the edge I just sanded at the desired radius. It only takes a few seconds per brace. |
|
E-Mail Me
or call (503)688-3376